Getting Started
Download
Download mzmine portable versions or installers from GitHub. The software follows semantic versioning (major.minor.patch like 4.8.0). The latest version is always available under: https://github.com/mzmine/mzmine/releases/latest
System requirements
System requirements are available here
Install or update mzmine
Download your system-specific installer (e.g., .msi installer on Windows) and double-click to install mzmine. To update mzmine, download a new version installer and install it over the old installation. There is no need to remove the old version. Alternatively, portable versions are distributed as zip archives, which need to be unzipped to reveal the executables (e.g., .exe on Windows). See platform-specific install instructions:
As standalone modern Java software, mzmine has NO further requirements and ships with its own specialized Java Runtime. This means the local Java installation has no impact on mzmine. Windows and macOS users might be warned that mzmine is not signed or from a trusted source and have to click run anyway.
Running mzmine
mzmine provides a user-friendly graphical user interface (GUI) that facilitates data exploration, batch optimization, and results validation. If the batch processing is optimized and the goal is to solely produce the output files without the need for a GUI, we recommend running mzmine as a command-line tool (CLI).
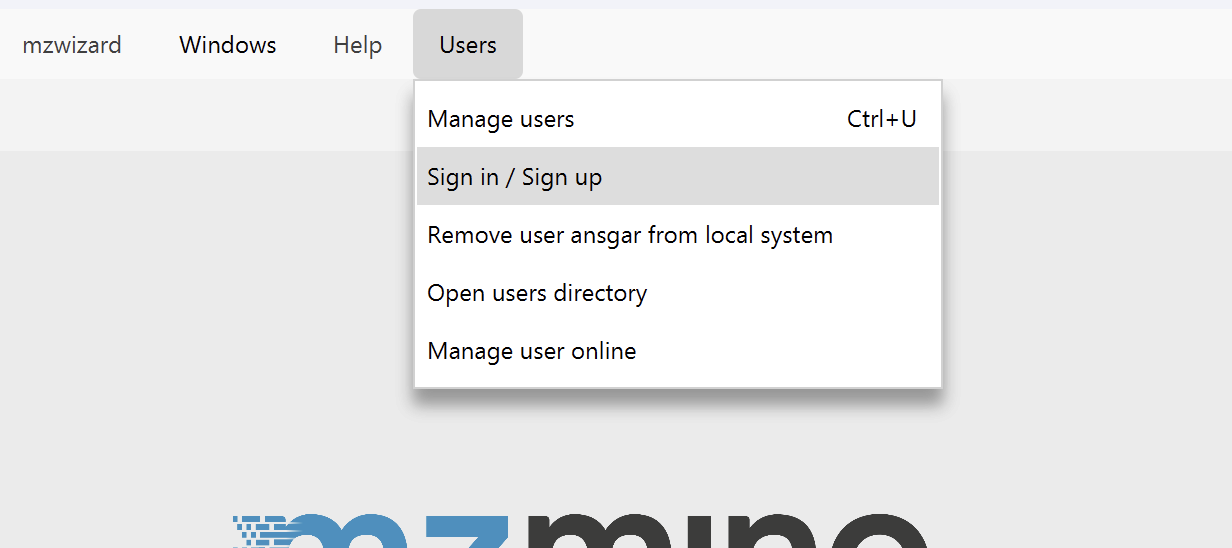
Sign in / Sign up
Open the Users/User management to sign in to an existing user or sign up for a free user account (more details).

Set user preferences
Before creating your first project, we recommend setting up some things.
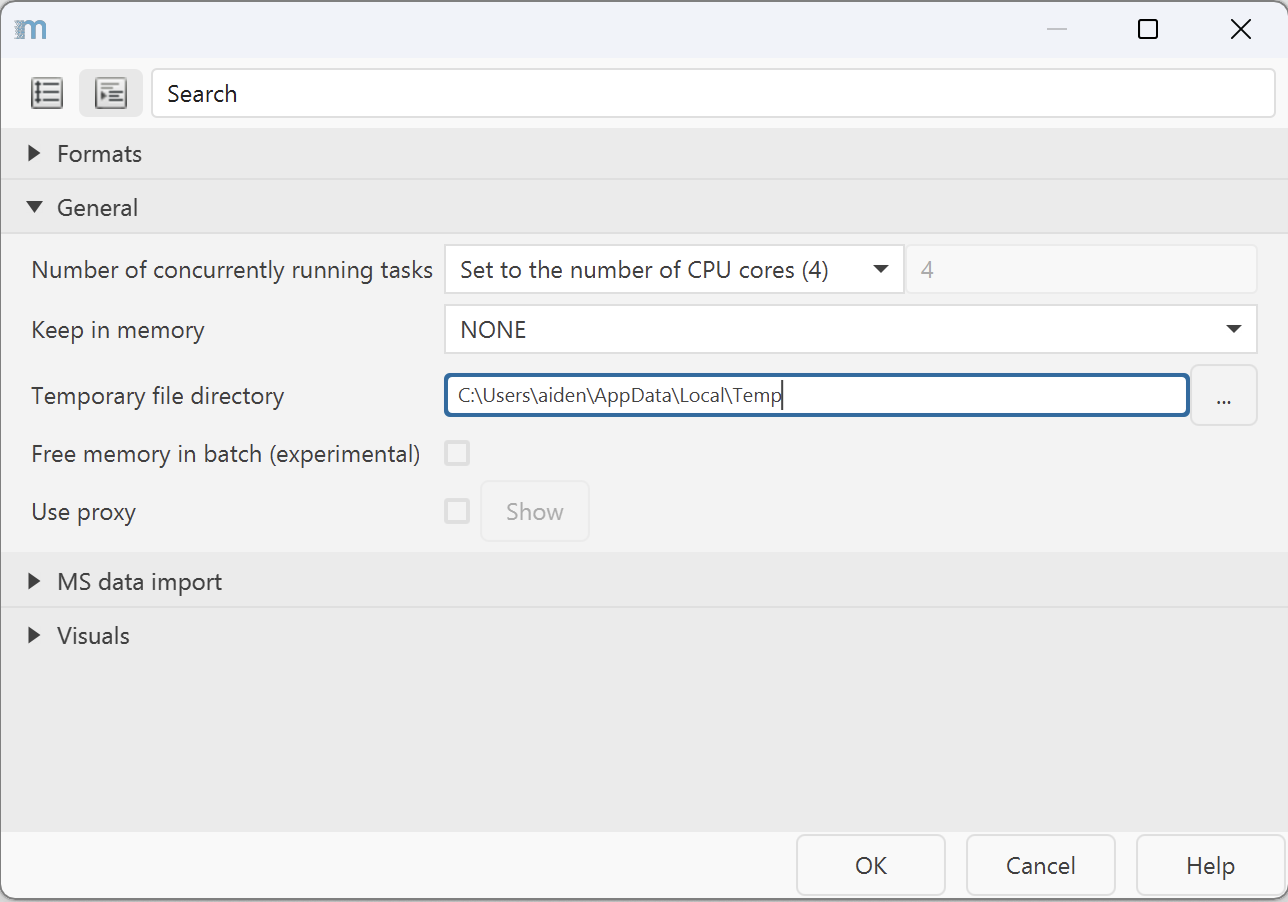
- Set a temporary file directory. Go to Project → Set preferences → Temporary file directory. This requires a restart to take effect.
-
We recommend setting the directory to an SSD other than your system drive with enough space for fast processing and visualizations.

-
mzmine 2 and mzmine 3 projects cannot be imported due to changes in the data structure.
- mzmine 2 and mzmine 3 batch files cannot be imported due to parameter optimizations.
You can get familiar with the new GUI here: Main window overview
Quick workflows in the mzwizard
As a quick start you can use the mzwizard in the main menu or directly on the landing page. A good starting point is watching this mzmine video tutorial on YouTube.
Introduction video
Workflow overviews
A quick insight to data processing workflows can be found here: